SOCIAL MEDIA

Tuesday, March 16, 2021

Mini Quilt Made with My Own Dyed Fabric


This project was from a few years ago.  I was dabbling in fabric dying after taking a silk dying class from the Hill Institute in Northampton, MA.  It was a lovely class and I made several scarves.  (Enough to give one as a Christmas gift to everyone I know.)  I took it with my mother and I loved spending time doing something creative together.  The process was much simpler than I expected.  Isn't that the case with so many things?  We don't do something thinking it's just too hard but when we make up our minds to do it and just do it, we find that breaking it down into steps, it's really not as we thought.  

During this class we wanted to have some dyes to work with at home so we purchased several from dharmatrading.com.  When you are dying on a very small scale as we were the jars of powered dye will last a long time.  All of which I still have and pull out from time to time.  Not sure if they ever go bad but so far they still work.  

As something fun to do one summer day I cut up some pieces of fabric and my kids and I set to dying them any which way.  Ha! I love that we were dying fabric wearing a tye-dyed shirt!


In this photo I had just painted the dye on.  I had it laid out on a piece of plastic.  You can see some of the air bubbles. 

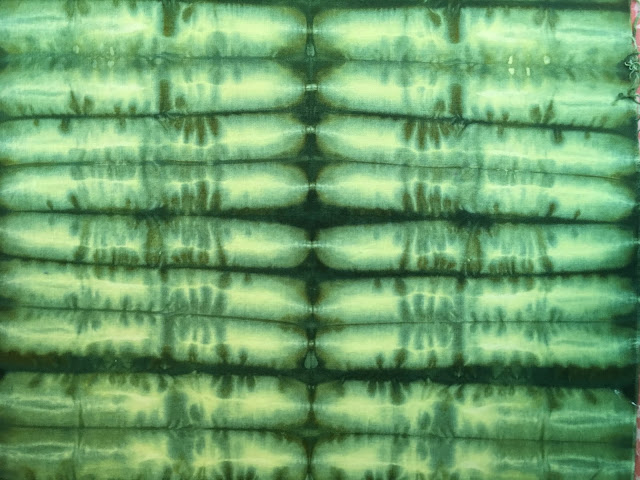
Here shows what it looks like after washing and drying.  Those air bubbles created a really cool technique.  


Above is another before and after.


This one looks saturated with too much color and I thought I would hate it but once it was washed it lightened up just enough.  I ended up using this whole piece in my final project; you can see it all around the outer edges of my quilt.


I see electricity on this one.  


These colors are so bold!


I was using so many different folding techniques.  I think this piece was folded in half then accordion folded with a rubber band in the middle.  Those fingers/pickles are about 1" wide.


And this was folded into squares as you can tell by the square outlines.  This is a more traditional shabori technique.  Creamsicle! 😋 


I started with choosing my favorite fabric and cut it into squares.


Then decided to do the 4 at a time method for half square triangles.  


I love how with any intention on my part it created either warm or cool blocks.


After a lot of time playing around with the blocks this is the layout I came up with.  It was a pretty small quilt about 18" x 18".  


Thursday, March 4, 2021

Butterfly Mini Quilt


Another WIP finish!  This was one of my slow summer stitching projects I started on my vacation.  Being a mini-quilt I thought it would be an easy finish but that didn't happen.


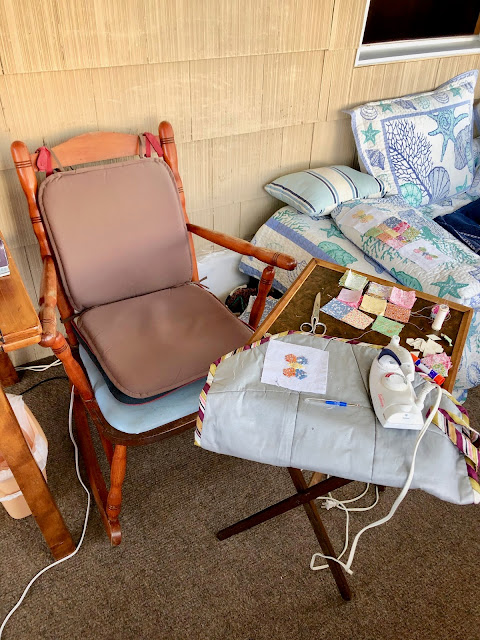
I sat in my little rocking chair staring out at the ocean.  This is my favorite time of the year.  Unplugged from everything except for family, a good book and some hand-sewing.


I found the template for the butterfly from the Vintage Sewing Box.  The butteries are paper pieced and so tiny.  


I really wanted to do something that used only 30's prints but wanted it relatively simple.  I always love a 9 patch and this let me use many of my favorite fabrics.


This entire project was hand-stitched, which is a good reason why I am just now finishing it...6 months later.


The entire quilt measures just 12" x 12".  This is before washing....


...And this is after washing.  I don't know what I am going to do with it yet.  Hold on to it for now and maybe hang it up once we get a little close to spring.