I promised this tutorial a loooong time ago. It was supposed to be done right after I published the serger version but what can I say...I'm really good at procrastinating. I've come up with lots of different snack bags over the years but this is by far the fastest and easiest one. This is one of my favorite projects to do with kids too!


Materials Needed:
• 2 Fabric scraps measuring at least 7 1/2" square
• Velcro 7 1/2" long (I used 3/4" wide and cut it in half lengthwise to get enough for 2 bags.)
• cereal bag plastic (pretty much any plastic found inside a cereal box. If you can't rip it easily, it should work for this project.)
• pinking shears (optional)
• paper or cardstock to make a pattern

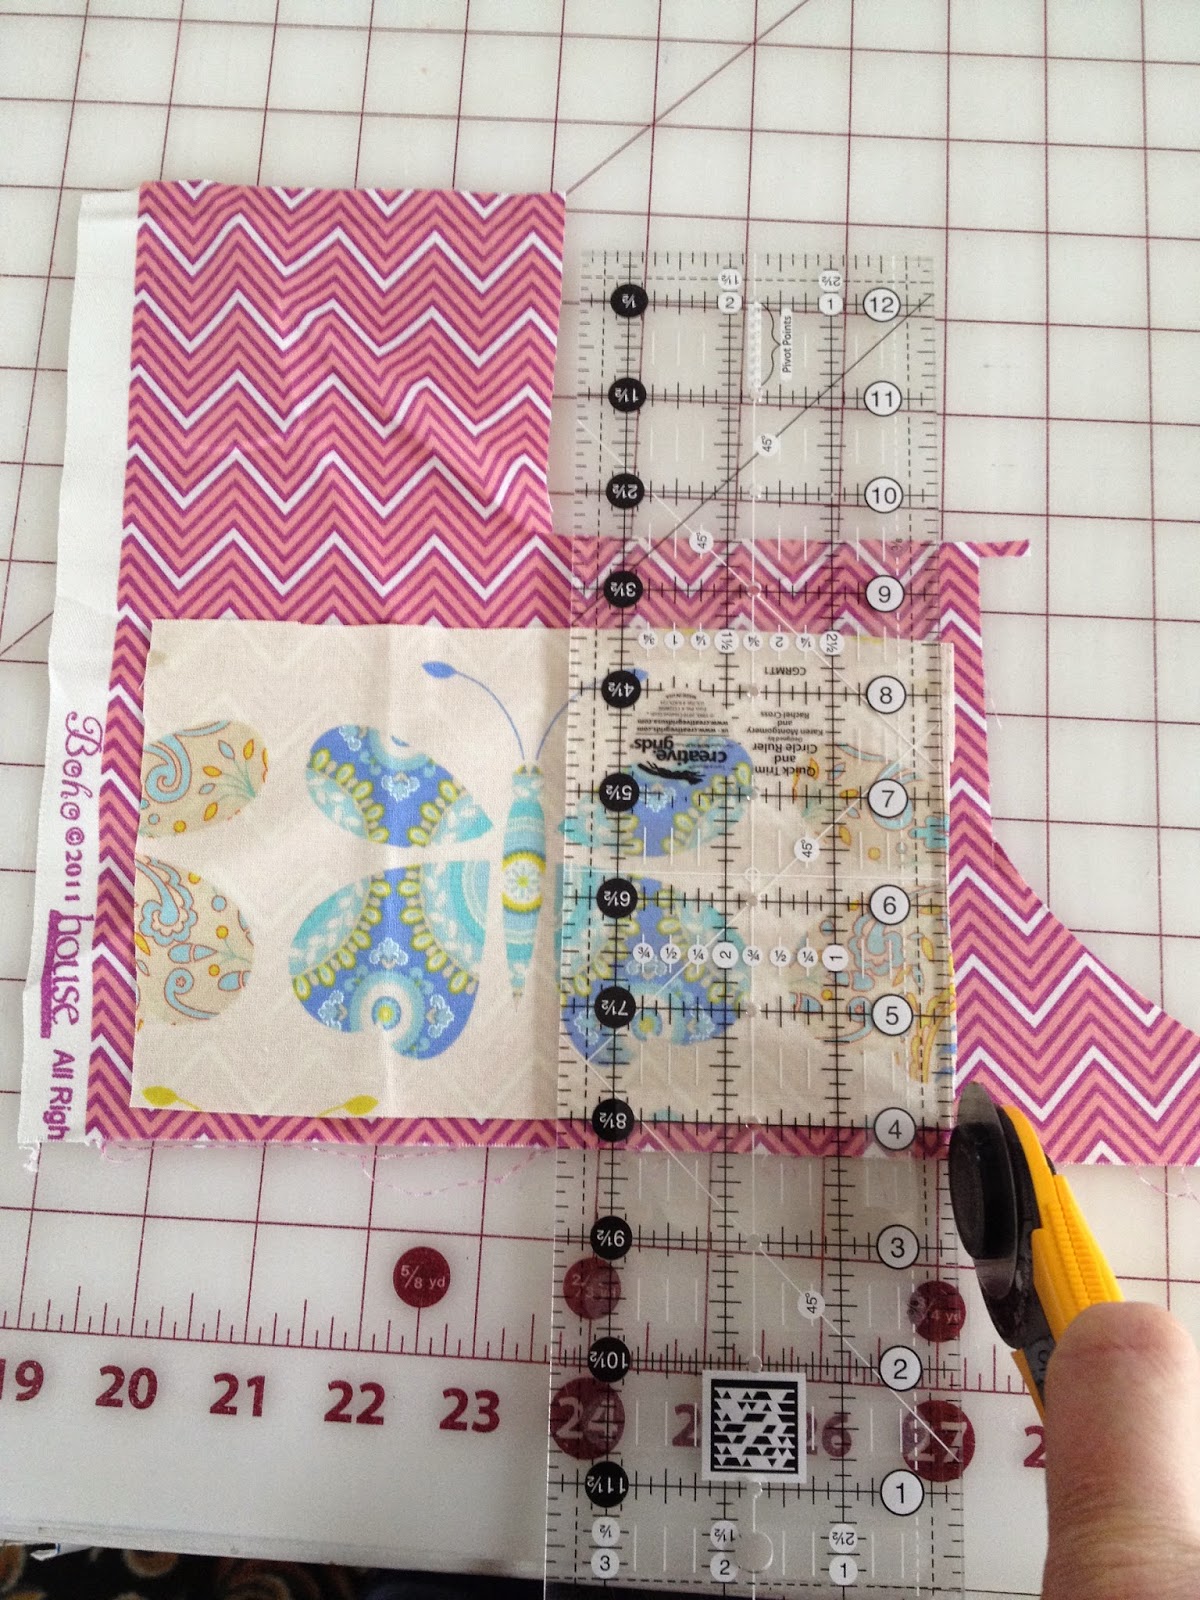
1. First I made a pattern from card-stock measuring 7 1/2" x 7 1/2". For a project like this that I might make several of a sturdy pattern is nice so I don't have to keep measuring everything. Using the pattern then trace and cut out 2 pieces of fabric and 2 pieces of the cereal bag plastic.

2. Next I cut my 3/4" Velcro in half length wise. You can use the full 3/4" width but it makes it a little harder to open especially for little hands.

3. Place one piece of fabric and a piece of cereal bag plastic right sides together. I try to use the side of the plastic that touched the food as the right side. You don't want to put pins through them so a clip of some sort is best.

4. With the plastic on the underside (touching the feed dogs) and the fabric facing up, stitch across the top using a 1/4" seam allowance. If you put the plastic on top it's going to be slipping and sliding all over the place.

5. Flip the fabric and plastic so the wrong sides are now facing each other. Pop the seam out as much as you can and finger press. No ironing on this project!


6. Take a side of the Velcro and stitch to the top side you just folded over. Place the velcro about 1/4" below the top (so you can have a little to grab to get it opened). Sew down one side, leave the needle in the down position when you get to the end, lift the presser foot and pivot the side to sew across the end of the velcro then pivot again to sew along the other side of the velcro back to where you started.

It should look something like this. Don't be surprised if on the the rougher side your thread breaks. Occasionally this can happen if it gets caught at just the right spot.
Now repeat for the other side.

7. Match both sides up so the velcro is lined up.

8. Add several clips all the way around the sides that don't have velcro.

9. Starting at the top right stitch all the way around the bag using a 1/2" seam allowance. When you get to the corner, drop your needle in the fabric, lift the presser foot and pivot to sew across the bottom and then up the other side.
Some helpful tips...
*Backstitch a few times at the beginning and end since those areas will be getting more stressed as you open and close the bag.
*If you find that the top fabric is starting to bunch and slide you can use both of your hands by grasping the top and bottom of a side to pull the side flat. You are not actually pulling or pushing the layers through the machine but you are sort of stretching it to make it flat. Let the feed dogs still feed the fabric through the machine.

10. Use a pair of pinking shears to trim the edges. If you don't have a pair don't worry you can also use a zig zag or decorative stitch around the edges or just two rows of straight stitches. This is where you can get creative.


Here are some bags I found that were made by my kids. They used a zig zag stitch. The blue one has been washed and you can see the fraying isn't so bad.


You can get real creative with these! This one has colored velcro (and I see it was stitched on with a zig zag stitch too.) Each side is also a different fabric.

I have been making these for my kids since they started preschool many years ago. I typically wipe them out but if they get really grungy I will throw them in the washer with my towels and air dry. It's a good idea to turn them inside out before washing. These usually last us a school year rotating several bags.
I'd love to know if you made some and how they turned out.


Materials Needed:
• 2 Fabric scraps measuring at least 7 1/2" square
• Velcro 7 1/2" long (I used 3/4" wide and cut it in half lengthwise to get enough for 2 bags.)
• cereal bag plastic (pretty much any plastic found inside a cereal box. If you can't rip it easily, it should work for this project.)
• pinking shears (optional)
• paper or cardstock to make a pattern

1. First I made a pattern from card-stock measuring 7 1/2" x 7 1/2". For a project like this that I might make several of a sturdy pattern is nice so I don't have to keep measuring everything. Using the pattern then trace and cut out 2 pieces of fabric and 2 pieces of the cereal bag plastic.

2. Next I cut my 3/4" Velcro in half length wise. You can use the full 3/4" width but it makes it a little harder to open especially for little hands.

3. Place one piece of fabric and a piece of cereal bag plastic right sides together. I try to use the side of the plastic that touched the food as the right side. You don't want to put pins through them so a clip of some sort is best.

4. With the plastic on the underside (touching the feed dogs) and the fabric facing up, stitch across the top using a 1/4" seam allowance. If you put the plastic on top it's going to be slipping and sliding all over the place.

5. Flip the fabric and plastic so the wrong sides are now facing each other. Pop the seam out as much as you can and finger press. No ironing on this project!


6. Take a side of the Velcro and stitch to the top side you just folded over. Place the velcro about 1/4" below the top (so you can have a little to grab to get it opened). Sew down one side, leave the needle in the down position when you get to the end, lift the presser foot and pivot the side to sew across the end of the velcro then pivot again to sew along the other side of the velcro back to where you started.

It should look something like this. Don't be surprised if on the the rougher side your thread breaks. Occasionally this can happen if it gets caught at just the right spot.
Now repeat for the other side.

7. Match both sides up so the velcro is lined up.

8. Add several clips all the way around the sides that don't have velcro.

9. Starting at the top right stitch all the way around the bag using a 1/2" seam allowance. When you get to the corner, drop your needle in the fabric, lift the presser foot and pivot to sew across the bottom and then up the other side.
Some helpful tips...
*Backstitch a few times at the beginning and end since those areas will be getting more stressed as you open and close the bag.
*If you find that the top fabric is starting to bunch and slide you can use both of your hands by grasping the top and bottom of a side to pull the side flat. You are not actually pulling or pushing the layers through the machine but you are sort of stretching it to make it flat. Let the feed dogs still feed the fabric through the machine.

10. Use a pair of pinking shears to trim the edges. If you don't have a pair don't worry you can also use a zig zag or decorative stitch around the edges or just two rows of straight stitches. This is where you can get creative.


Here are some bags I found that were made by my kids. They used a zig zag stitch. The blue one has been washed and you can see the fraying isn't so bad.


You can get real creative with these! This one has colored velcro (and I see it was stitched on with a zig zag stitch too.) Each side is also a different fabric.

I have been making these for my kids since they started preschool many years ago. I typically wipe them out but if they get really grungy I will throw them in the washer with my towels and air dry. It's a good idea to turn them inside out before washing. These usually last us a school year rotating several bags.
I'd love to know if you made some and how they turned out.